
Composting at Home: Turning Kitchen Scraps Into Garden Gold

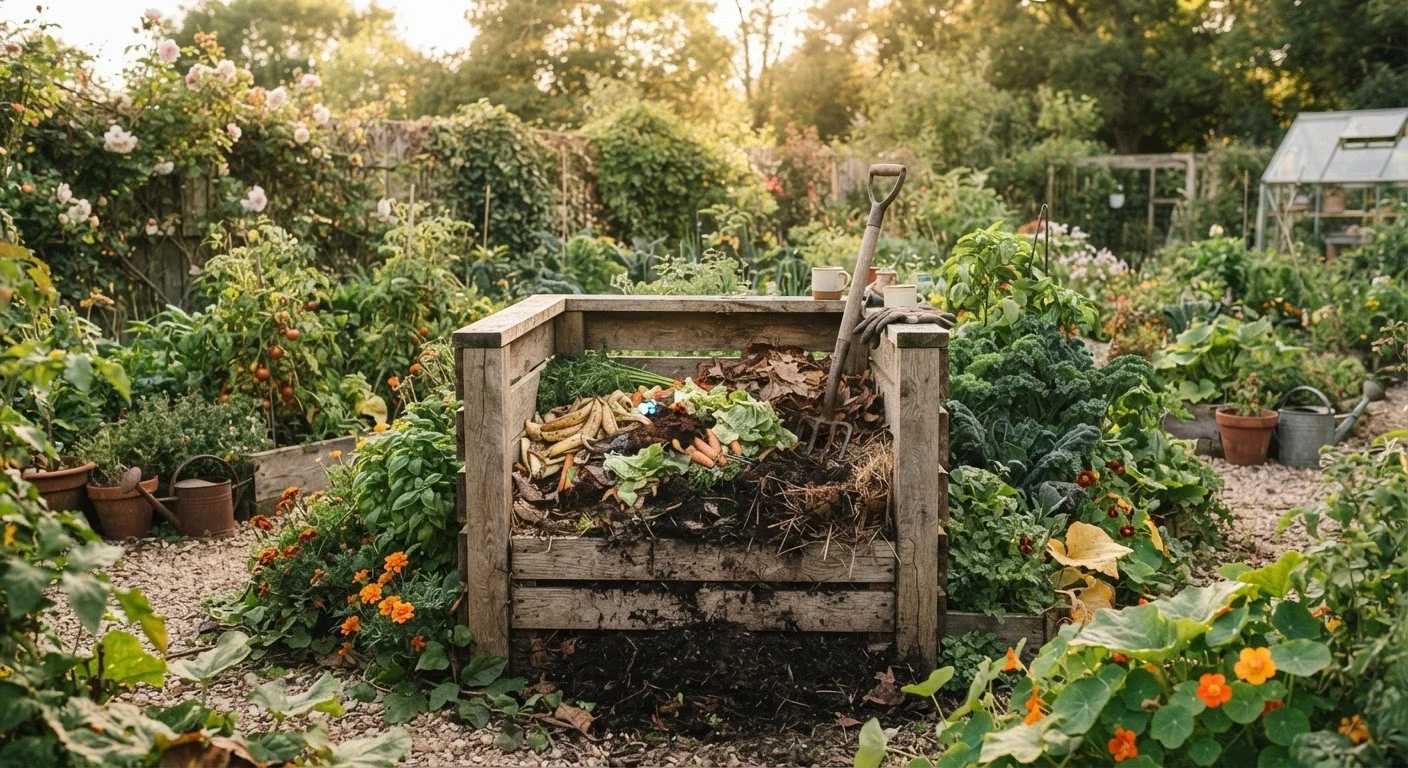
Photo: AdvisorBooth.net editorial
Key Takeaways
- Composting requires a balanced mix of carbon-rich "browns" and nitrogen-rich "greens" to work efficiently.
- A functioning compost pile needs moisture, airflow, and regular turning to break down properly.
- Meat, dairy, and oily foods should stay out of a basic backyard compost pile.
- Finished compost typically takes two to six months depending on materials and management.
- Home compost can meaningfully reduce household food waste sent to landfill.
Why Composting Is Worth the Effort
Composting is one of the most practical things a home gardener can do. It diverts food scraps and yard waste from the landfill and returns them to the soil as a dark, crumbly amendment that improves structure, feeds beneficial microbes, and reduces the need for purchased fertilizers. Whether you're starting a vegetable garden from scratch or refreshing established beds, working finished compost into the soil is almost always a net positive for plant health.
The science behind it is straightforward: microorganisms, fungi, and invertebrates break down organic matter over time. Your job is to give them the right conditions - a mix of materials, adequate moisture, and occasional turning - and let biology do the rest.
Start Small, Then Scale Up
Composting also pairs naturally with other garden strategies. If you mulch your beds, as outlined in our guide on effective mulching techniques, finished compost can serve as a top-dressing layer that feeds and protects soil simultaneously.
What Goes In - and What Stays Out
The key to a healthy compost pile is balance. Materials are grouped into two broad categories:
- Browns (carbon-rich): dry leaves, cardboard torn into small pieces, newspaper, straw, paper bags, and wood chips. These provide structure and carbon.
- Greens (nitrogen-rich): fruit and vegetable scraps, coffee grounds, tea bags (check for plastic), fresh grass clippings, and plant trimmings. These fuel microbial activity.
A general rule of thumb is to aim for roughly two to three parts browns for every one part greens by volume. If your pile smells sour or like ammonia, it likely needs more browns. If it's not breaking down at all, add more greens.
Foods That Should Never Go In
Keep these out of a basic backyard pile: meat, fish, bones, dairy products, oily or greasy foods, pet waste, and diseased plants. These materials can attract pests, create odors, or introduce pathogens that a home pile may not reach temperatures high enough to neutralize.
Setting Up and Managing Your Pile
You don't need elaborate equipment to compost successfully. A simple bin made from wooden pallets, a wire cylinder, or even a tidy open pile in a corner of the yard will work. Choose a spot with partial shade, reasonable drainage, and easy access.
Choose your composting method and location
Select a spot at least three feet square that gets partial shade and isn't prone to flooding. Decide whether you'll use an open pile, a DIY bin, or a purchased tumbler. All can work - your choice depends on space, aesthetics, and how quickly you want results.
Gather your starting materials
Collect a mix of browns and greens before you begin. A good starter batch might include a bucket of fallen leaves, fruit and vegetable scraps from the past week, and some torn cardboard. Having both on hand from the start helps you layer properly.
Layer your materials in the bin
Begin with a coarse layer of browns - like small sticks or wood chips - on the ground to allow airflow at the base. Add alternating layers of greens and browns, keeping greens layers thinner. Aim for a pile at least three feet tall for heat retention.
Add water and check moisture
After layering, water the pile until it feels like a damp sponge throughout. This is essential for microbial activity. In dry climates or summer heat, you may need to add water weekly.
Turn the pile regularly
Use a garden fork or compost turning tool to aerate the pile every one to two weeks. Move outer materials toward the center where heat is highest. Turning accelerates decomposition and prevents the pile from developing odors.
Harvest and use finished compost
Finished compost is dark, crumbly, and smells like rich forest soil. Remove it from the bottom of the pile or bin. Use it as a soil amendment dug into garden beds, a top-dressing around established plants, or mixed into potting soil for containers. If some material is still recognizable, set it aside to continue breaking down in the active pile.
Once active, a healthy pile should feel like a wrung-out sponge - moist but not dripping. If you're building a raised bed or in-ground garden, finished compost can be mixed directly into native soil at a ratio of roughly 25-30% compost to improve fertility and drainage before planting.
Troubleshooting Common Problems
Even well-intentioned piles hit snags. Here are the most common issues and their fixes:
- Pile won't heat up
- It likely needs more nitrogen (greens) or moisture. Add fresh kitchen scraps or grass clippings and water lightly.
- Unpleasant odor
- Too much nitrogen or too little airflow. Add browns and turn the pile to introduce oxygen.
- Pests or rodents
- Avoid adding cooked foods or anything animal-based, and consider a bin with a secure lid or hardware cloth base.
- Pile is too wet or slimy
- Mix in dry leaves or shredded cardboard and turn to aerate.
Patience is part of the process. Depending on how actively you manage it, compost can be ready in as little as two months or as long as six months to a year if left relatively undisturbed. The finished product should be dark, earthy-smelling, and crumbly - not recognizable as the individual materials you started with.
If you're looking to reduce household clutter in the kitchen while building your composting habit, a countertop collection container can help. For tips on keeping kitchen spaces orderly, see our article on organizing kitchen storage.
The content on this site is for informational purposes only and is not a substitute for professional advice. Always consult a qualified professional for guidance specific to your situation.