
Drywall Repair Without the Guesswork

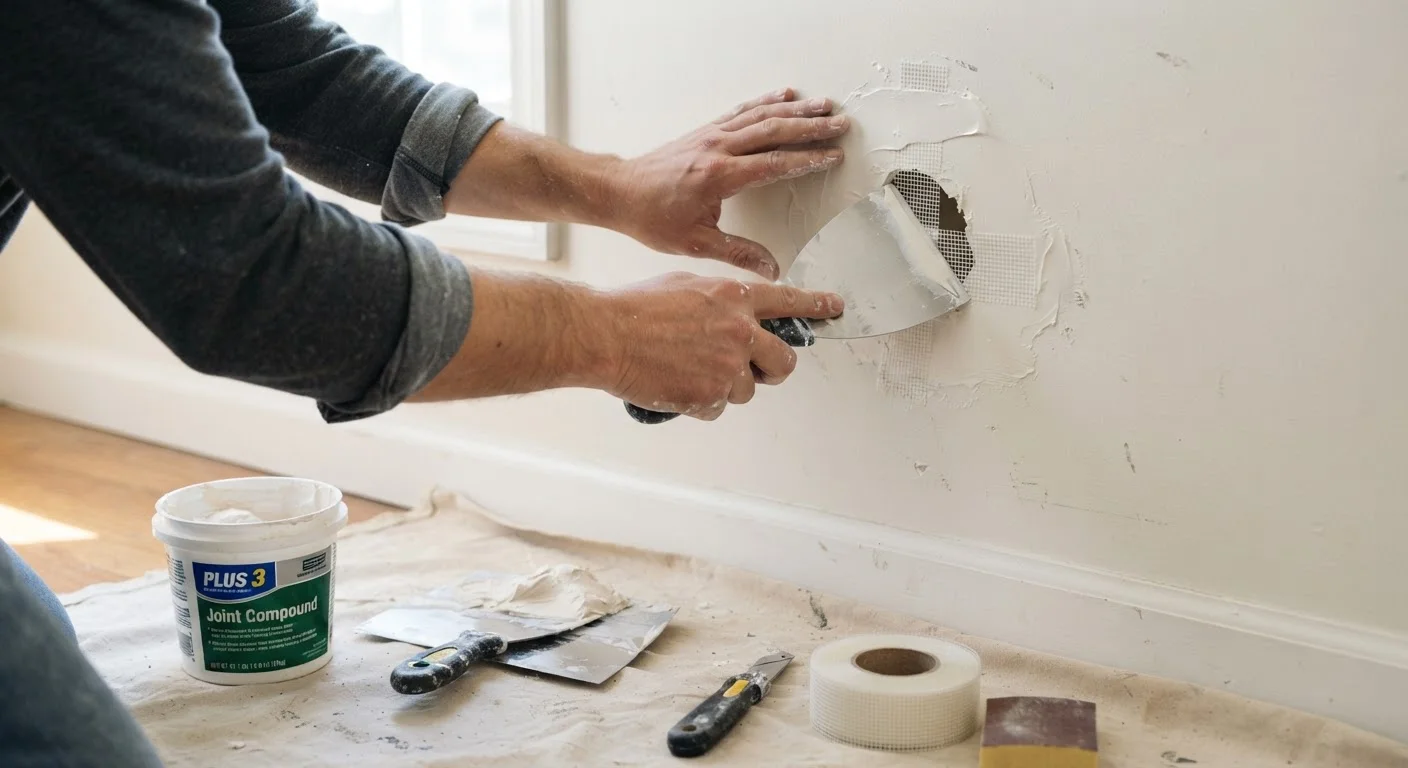
Photo: AdvisorBooth.net editorial
Key Takeaways
- Damage size determines the right repair method - small holes need spackle, larger ones need a patch or backer board.
- Feathering joint compound in thin coats is the key to a smooth, paint-ready surface.
- Texture matching is often the hardest step; test your technique on cardboard before applying to the wall.
- Most standard drywall repairs don't require permits, but always verify local requirements for your specific situation.
- Allow each compound coat to dry fully before sanding to avoid cracking and shrinkage.
Assess the Damage First
Before reaching for a trowel, take a few minutes to evaluate what you're dealing with. Drywall damage generally falls into three categories, each requiring a different approach:
- Minor surface damage - nail holes, small dents, hairline cracks less than ¼ inch wide. These are the quickest fixes.
- Medium holes - roughly 1 to 6 inches in diameter, typically from doorknob strikes or removed anchors. These require a self-adhesive mesh patch or a California patch technique.
- Large holes - anything over 6 inches. These need a cut-in drywall patch supported by backer boards or wood cleats.
Also check whether the damage is isolated to the drywall surface or extends deeper. Moisture staining, soft spots, or crumbling material may signal a water leak or mold issue - in those cases, address the underlying cause before any cosmetic repair. If you're uncertain whether a wall is load-bearing or conceals structural elements, consult a licensed contractor before cutting into it. For more on that, see our guide on structural realities behind wall removal.
What you will need
Tools and Materials You'll Need
Gathering everything before you start saves time and reduces the temptation to cut corners mid-repair.
Putty knife or drywall knife (4-6 inch)
Applies and smooths joint compound over small repairs and patch edges.
Wide taping knife (10-12 inch)
Feathers compound over a broad area for a seamless blend on medium or large patches.
Self-adhesive mesh patch
Covers holes 1-6 inches in diameter without needing to cut a precise opening.
Drywall screws and backer boards or wood cleats
Provide a solid mounting surface for cut-in patches on holes larger than 6 inches.
All-purpose joint compound
Fills, covers mesh, and creates a smooth, sandable surface across all repair types.
Sanding sponge or 120-grit sandpaper
Smooths dried compound between coats and before priming.
Drywall primer
Seals the repaired area so finish paint applies evenly without flashing.
For most repairs, you'll also want a drop cloth, painter's tape, and adequate lighting to spot low spots before paint goes on.
Step-by-Step Repair Instructions
Follow the steps below based on the size of damage you identified. Steps 1-3 apply to all repair types; steps 4 onward address medium and large holes specifically.
Clean and Prep the Damaged Area
Remove any loose paper facing, crumbling gypsum, or protruding nails. For nail pops, drive the nail slightly below the surface with a hammer and nail set, then add a drywall screw an inch above and below to re-secure the panel to the stud. Wipe dust away with a dry cloth.
Apply the First Coat of Compound
For nail holes and hairline cracks, press a small amount of lightweight spackle or joint compound into the void with a putty knife, scrape flush, and let dry. For mesh-patched holes, spread joint compound over the mesh in a thin, even coat, extending 2-3 inches beyond the patch edges. Don't try to fill it all in one pass.
Sand, Inspect, and Apply Additional Coats
Once the first coat is completely dry (typically 24 hours, though humidity affects this), sand lightly with 120-grit sandpaper. Hold a work light at a low angle to the wall to reveal low spots or ridges. Apply a second coat, feathering the edges wider than the first. Most repairs need two to three coats total.
Install a Backer Board for Large Holes
For holes over 6 inches, cut the damaged area into a clean rectangle using a drywall saw. Cut two pieces of 1×3 or 1×4 lumber slightly longer than the hole's height. Slide each piece behind the opening and drive drywall screws through the existing drywall into the wood on each side, securing the backer boards in place.
Cut and Secure the Drywall Patch
Cut a piece of drywall to fit the rectangular opening precisely. Secure it to the backer boards with drywall screws, spacing them about 6 inches apart. Apply mesh drywall tape over all seams, then begin your first compound coat over the tape and screw dimples.
The Feathering Technique Makes All the Difference
Finishing, Texture Matching, and Painting
A smooth repair is only half the battle - if your walls have texture, a perfectly flat patch will stand out just as much as the original hole. Common textures include:
- Orange peel - achieved with a light spray of texture compound from an aerosol can or hopper gun
- Knockdown - applied with a trowel, then flattened slightly before it fully dries
- Smooth - requires careful sanding and a final skim coat
Always test your texture technique on a scrap piece of cardboard or drywall first. Once the texture dries and you're satisfied with the match, apply a coat of drywall primer before painting. Skipping primer causes the repaired area to absorb paint differently, leaving a visible dull spot called a flash.
Just as knowing your limits matters in auto repair - see our piece on when to DIY vs. call a mechanic - the same principle applies here. Simple drywall repairs are well within most homeowners' reach. Extensive damage near electrical panels, plumbing, or structural walls is worth a professional assessment.
Don't Skip the Primer Step
The content on this site is for informational purposes only and is not a substitute for professional advice. Always consult a qualified professional for guidance specific to your situation.