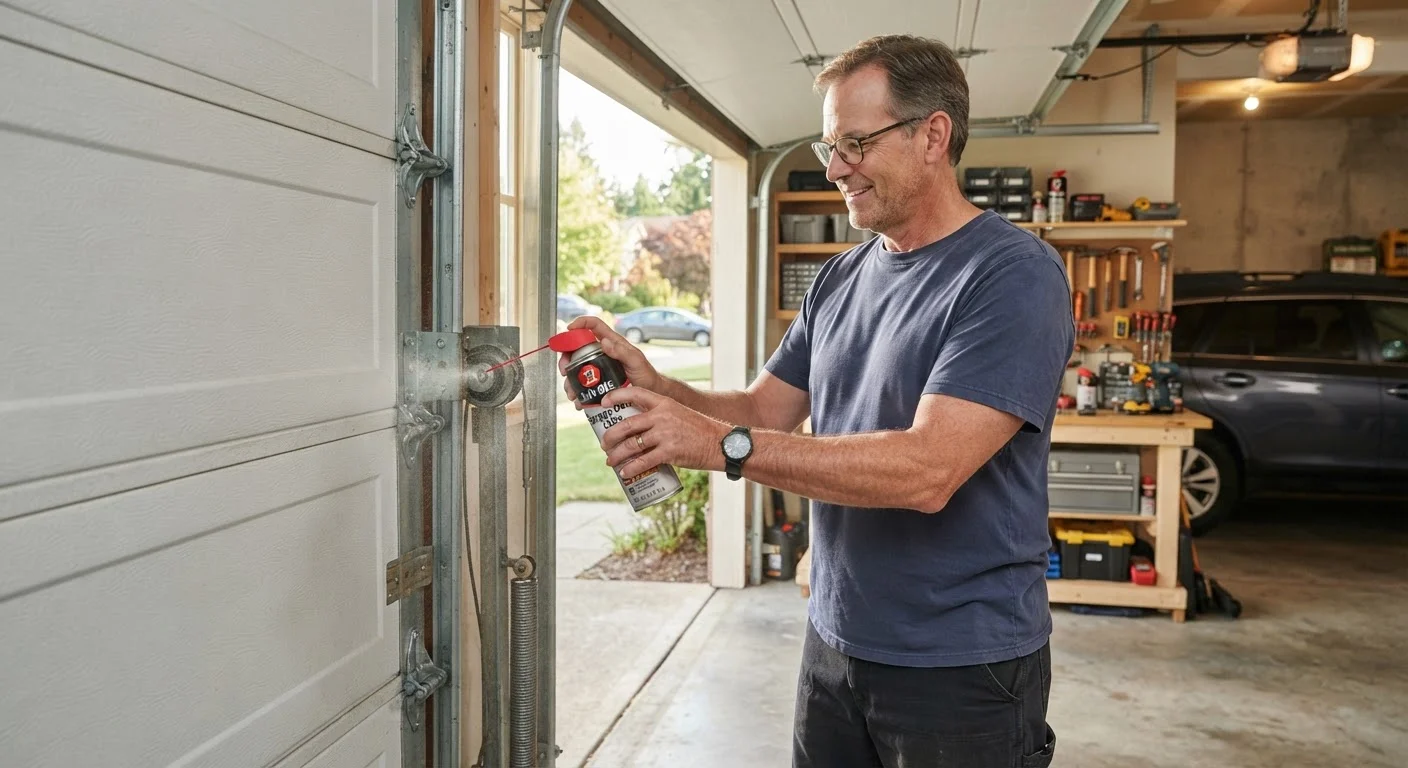
Lubrication, balance checks, and sensor tests are manageable DIY tasks. Learn what to do — and which repairs warrant a qualified technician.
Why Garage Door Maintenance Matters
A garage door is one of the largest, heaviest moving parts of any home - and most homeowners interact with it multiple times a day without giving it a second thought. That familiarity can breed complacency. Neglected doors develop noisy hardware, sluggish operation, and safety risks that build quietly over time.
The good news: several routine maintenance tasks are genuinely straightforward and safe for homeowners to handle themselves. A consistent maintenance routine - roughly twice a year, aligned with seasonal changes - can extend the life of the system and catch minor issues before they become expensive repairs. For a broader framework on timing these tasks, see the season-by-season home maintenance calendar.
This guide focuses on what you can confidently do yourself, and clearly flags where professional service is the right call.
Safe DIY Maintenance Tasks
The following practices are manageable for most homeowners with basic tools and attention to detail. None of them require disassembling spring systems or working with high-tension cables.
1
Lubricate all moving metal parts every six months
Metal rollers, hinges, and the torsion spring shaft accumulate friction over time, causing wear and noise. A light application of garage-door-specific lubricant (not WD-40, which is a solvent rather than a lasting lubricant) keeps parts moving smoothly and reduces premature wear.
Example: Apply lubricant to the rollers, hinges, and the top of the spring coil. Wipe away any excess to prevent drips onto the floor or door panels.
2
Test the auto-reverse safety feature monthly
Federal safety standards have required automatic reversal on garage door openers since 1993, but the mechanism can drift out of sensitivity over time. A door that doesn't reverse on contact with an object poses a serious risk to children, pets, and vehicles.
Example: Place a 2x4 flat on the ground in the door's path. Activate the close cycle - the door should reverse immediately upon touching the board. If it doesn't, adjust the close-force setting on the opener unit per the manufacturer's instructions.
3
Clean and align the photo-eye sensors
The two sensors positioned near the floor on either side of the door create an invisible beam. If that beam is blocked or the sensors are misaligned, the door may refuse to close or reverse unexpectedly. Dust, spider webs, and minor bumps are common culprits.
Example: Wipe each sensor lens gently with a clean cloth. Check that both indicator lights are steady (not blinking), and carefully bend the sensor bracket back into alignment if needed.
4
Perform a door balance test twice a year
A properly balanced door should stay in place when opened halfway manually. An imbalanced door signals spring wear and forces the opener motor to work harder, shortening its lifespan. Catching this early allows you to schedule a professional spring adjustment before the system fails entirely.
Example: Disconnect the opener by pulling the emergency release cord. Lift the door manually to waist height and let go. If it drifts up or falls down, the springs likely need professional adjustment.
5
Inspect and replace weatherstripping as needed
The rubber seal along the bottom and sides of the door keeps out drafts, pests, and water. Cracked or compressed weatherstripping reduces your garage's energy efficiency and can allow moisture damage to the door bottom over time.
Example: Run your hand along the bottom seal while the door is closed. If you feel airflow or see daylight, the seal is due for replacement - bottom seals are widely available and attach with a simple retainer channel.
6
Check and tighten all visible hardware
Vibration from thousands of open-and-close cycles gradually loosens bolts and roller brackets. Loose hardware can lead to misalignment, rattling, and in severe cases, structural instability of the door.
Example: Use a socket wrench to check the roller brackets, hinges, and bolts securing the track to the wall. Snug any loose fasteners - avoid overtightening, which can strip threads or warp brackets.
Quick Wins You Can Do This Weekend
Not every maintenance step requires a full afternoon. These fast actions deliver real protection with minimal effort.
high
Wipe down both photo-eye sensor lenses with a dry cloth right now - it takes under two minutes and prevents one of the most common 'door won't close' complaints.
high
Pull the emergency release cord and lift your door halfway to test its balance - if it doesn't hold position, schedule a technician visit before the spring fails unexpectedly.
high
Run a flat board under the closing door to verify the auto-reverse feature is working - this single check directly protects everyone who uses the garage.
medium
Walk the length of both door tracks and tighten any visibly loose bolts with a socket wrench - a 10-minute pass can prevent alignment problems down the road.
medium
Inspect the bottom weatherstrip seal from inside the garage with the door closed - replace it if you see daylight or feel a draft along the floor.
When to Call a Qualified Technician
Not every garage door problem belongs in the DIY category. Two components, in particular, store dangerous amounts of mechanical energy: torsion springs (the large horizontal spring above the door) and lift cables (the steel cables running along each side). If either is broken, frayed, or visibly worn, stop using the door and contact a licensed garage door technician.
Torsion Springs Store Serious Energy
A torsion spring under full tension stores enough mechanical energy to cause severe injury if it releases suddenly. Never attempt to loosen, adjust, or replace torsion springs or lift cables yourself - this work requires specialized tools and training. If you notice a broken spring (often announced by a loud bang and a door that won't open), keep the door closed and call a licensed technician.
Other situations that warrant professional attention include: the door reversing unpredictably mid-cycle, the motor running but the door not moving, significant off-track movement, or any repair that requires loosening spring hardware. The cost of a service call is far lower than an emergency room visit or a door that falls from its tracks.
Maintaining other systems around your home follows a similar logic - some tasks reward DIY effort while others carry real risk. The home weatherization guide is another area where careful DIY work pays off without major hazard.
The content on this site is for informational purposes only and is not a substitute for professional advice. Always consult a qualified professional for guidance specific to your situation.