
Home Weatherization: Sealing Your House Against Energy Loss

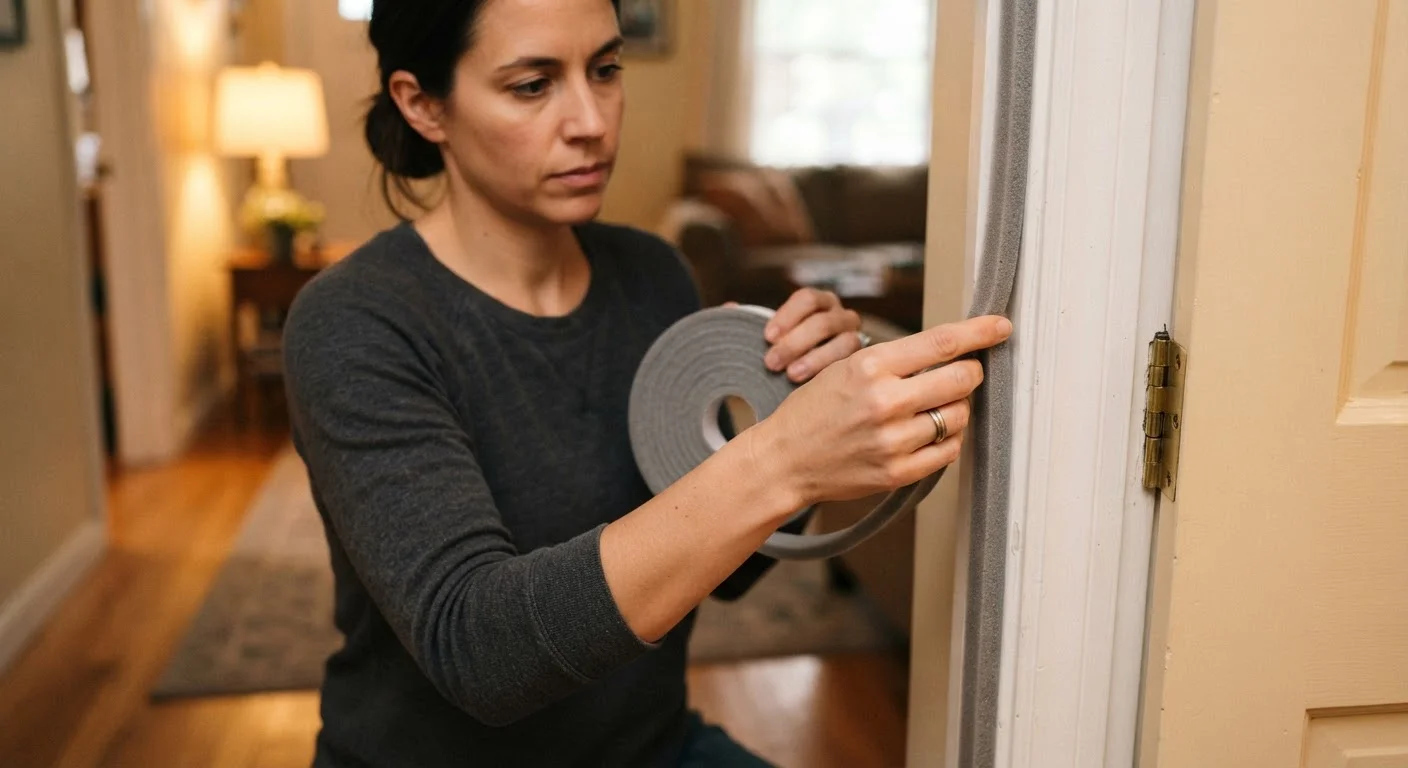
Photo: AdvisorBooth.net editorial
Key Takeaways
- Air leaks around windows, doors, and attic hatches are among the most common sources of energy loss in American homes.
- A simple candle or incense stick test can help you locate drafts without any special equipment.
- Caulk works best for stationary gaps; weatherstripping is designed for moving parts like doors and operable windows.
- Attic bypasses - gaps around light fixtures and plumbing - are often overlooked but can be significant leak points.
- Most basic sealing tasks are suitable for DIY; electrical penetrations and gas lines always require a licensed professional.
- Weatherization works best when paired with adequate insulation throughout the home.
Why Air Leaks Matter More Than Most Homeowners Realize
Heating and cooling typically account for nearly half of a household's total energy use. A meaningful share of that energy quietly escapes through gaps and cracks in the building envelope - the walls, roof, floor, windows, and doors that separate conditioned indoor air from the outdoors. According to the U.S. Department of Energy, air leakage in a typical home can account for a substantial portion of heating and cooling costs.
Unlike a broken appliance, air leaks give no obvious warning sign. The draft you feel near a window on a cold night is noticeable, but many leaks are hidden in attic floors, behind walls, or around pipe penetrations where you'd never think to look. Sealing those gaps is one of the most cost-accessible improvements a homeowner can make - most of the materials cost only a few dollars per linear foot.
~25-30%
Share of home heating/cooling lost to air leaks
The U.S. Department of Energy estimates that air leakage accounts for a significant portion of heating and cooling costs in a typical American home.
$0.05-$0.50
Approximate cost of caulk per linear foot
Basic latex and silicone caulks are widely available at hardware stores, making air sealing one of the more accessible home improvements by materials cost.
Top 3
Attic, crawl space, and basement rank as top leak zones
Building science research consistently identifies transitions between conditioned and unconditioned spaces as the highest-priority areas for air sealing.
How to Find Air Leaks in Your Home
Before buying any materials, do a systematic inspection. Start on a cold or windy day when pressure differences make drafts more noticeable.
The Hand and Candle Test
Move your hand slowly along window frames, door frames, electrical outlets on exterior walls, and baseboards. A lit candle or incense stick held near suspected gaps will flicker or bend toward the leak - a simple, reliable indicator. Work room by room and mark problem spots with painter's tape so you don't lose track.
The Blower Door Test
A professional energy auditor uses a calibrated fan mounted in an exterior door to depressurize your home, making every leak immediately detectable with a smoke pencil. Many utility companies offer subsidized audits - check your provider's website for programs in your area. The results give you a prioritized list of exactly where to focus your effort.
Check your attic hatch first - it's almost always under-sealed and sits directly above the largest temperature differential in the house. A simple foam weatherstripping bead around the frame and a layer of rigid foam glued to the hatch panel can make a noticeable difference.
When applying caulk to an exterior window frame, run a continuous, unbroken bead in one pass rather than starting and stopping. Joints and breaks in the bead are where moisture and air eventually infiltrate.
The Most Common Leak Locations
Research from building-science organizations consistently identifies the same culprits. Knowing where to look saves significant time.
- Window and door frames: Caulk degrades over time. Look for cracked or missing beads along the interior and exterior perimeter.
- Attic hatch or pull-down stairs: These are rarely insulated or weather-sealed, yet they open directly into the attic - one of the coldest or hottest zones in the house.
- Electrical outlets and switches on exterior walls: The boxes behind them often have no insulation and connect directly to wall cavities exposed to outside air.
- Plumbing and wiring penetrations: Pipes and cables that pass through floors, walls, or the top plates of exterior walls leave gaps around them.
- Recessed light fixtures in ceilings below an attic: Old-style fixtures can have large openings into the attic space above.
- Fireplace dampers: When not in use, an open or poorly sealing damper is essentially an open window in your chimney.
For a fuller picture of what to tackle each season, the Season-by-Season Home Maintenance Calendar organizes these checks within a year-round framework.
Choosing the Right Sealing Material
Using the wrong material for a gap leads to premature failure. Here's a practical breakdown:
- Latex caulk
- Best for stationary gaps up to about ¼ inch wide around window frames, door trim, and where siding meets the foundation. Paintable and easy to apply. Clean up with water.
- Silicone caulk
- More durable and flexible than latex, making it a better choice for areas with temperature swings, like exterior window sills. Not paintable in most formulations.
- Expanding foam sealant
- Fills larger gaps (½ inch or more) around pipes, wires, and rim joists. Use a minimal-expanding formula near window and door frames to avoid distorting them.
- Weatherstripping
- Designed for moving parts - door edges, operable windows, and attic hatches. Common types include foam tape, V-strip (tension seal), and door sweeps for the bottom of exterior doors.
- Rigid foam board or pre-cut covers
- Useful for insulating and sealing attic hatches and the backs of electrical boxes in exterior walls.
Weatherization pairs directly with insulation: sealing stops air movement, while insulation slows heat transfer through materials. The two strategies complement each other. See our guide to insulation types compared for guidance on what works where.
DIY Sealing vs. When to Call a Professional
Most weatherization tasks around windows, doors, and attic hatches are well within the reach of a careful homeowner with basic tools. The materials are available at any hardware store, and the techniques require no special licensing.
However, a few situations call for a qualified professional:
- Electrical penetrations: If sealing requires moving or working around wiring, a licensed electrician should handle it.
- Gas lines: Never seal around gas supply lines yourself. Contact your utility or a licensed plumber.
- Structural gaps: Large cracks in foundation walls or around structural framing may indicate settling or moisture issues that need professional diagnosis before sealing.
- Whole-house air sealing in the attic: Accessing and sealing attic bypasses thoroughly is labor-intensive and may require safety equipment. Many homeowners hire an insulation contractor for this phase.
Also note that some jurisdictions require permits for certain energy improvement work, particularly when it affects mechanical systems. Verify local requirements before starting.
Connecting Weatherization to Your Broader Home Maintenance Plan
Weatherization isn't a one-time project - it's an ongoing part of home upkeep. Caulk around windows typically lasts five to ten years before cracking. Weatherstripping on high-traffic doors may need replacement every few years. Building in an annual inspection, ideally before the heating or cooling season, keeps small gaps from growing into large ones.
Garage doors are another often-overlooked part of the building envelope. The garage door maintenance guide covers the seals, bottom gaskets, and side stops that prevent conditioned air from escaping through an attached garage.
If energy loss is a recurring concern, it's worth examining your overall household budget for other areas where resources may be quietly slipping away - the spending audit checklist applies the same systematic thinking to finances that weatherization applies to your home.
Taken together, sealing air leaks, upgrading insulation, and staying on top of seasonal maintenance tasks form a straightforward framework for a more comfortable and efficient home - no major renovation required.
The content on this site is for informational purposes only and is not a substitute for professional advice. Always consult a qualified professional for guidance specific to your situation.