
Checking Your Own Tire Pressure: A Practical Walkthrough

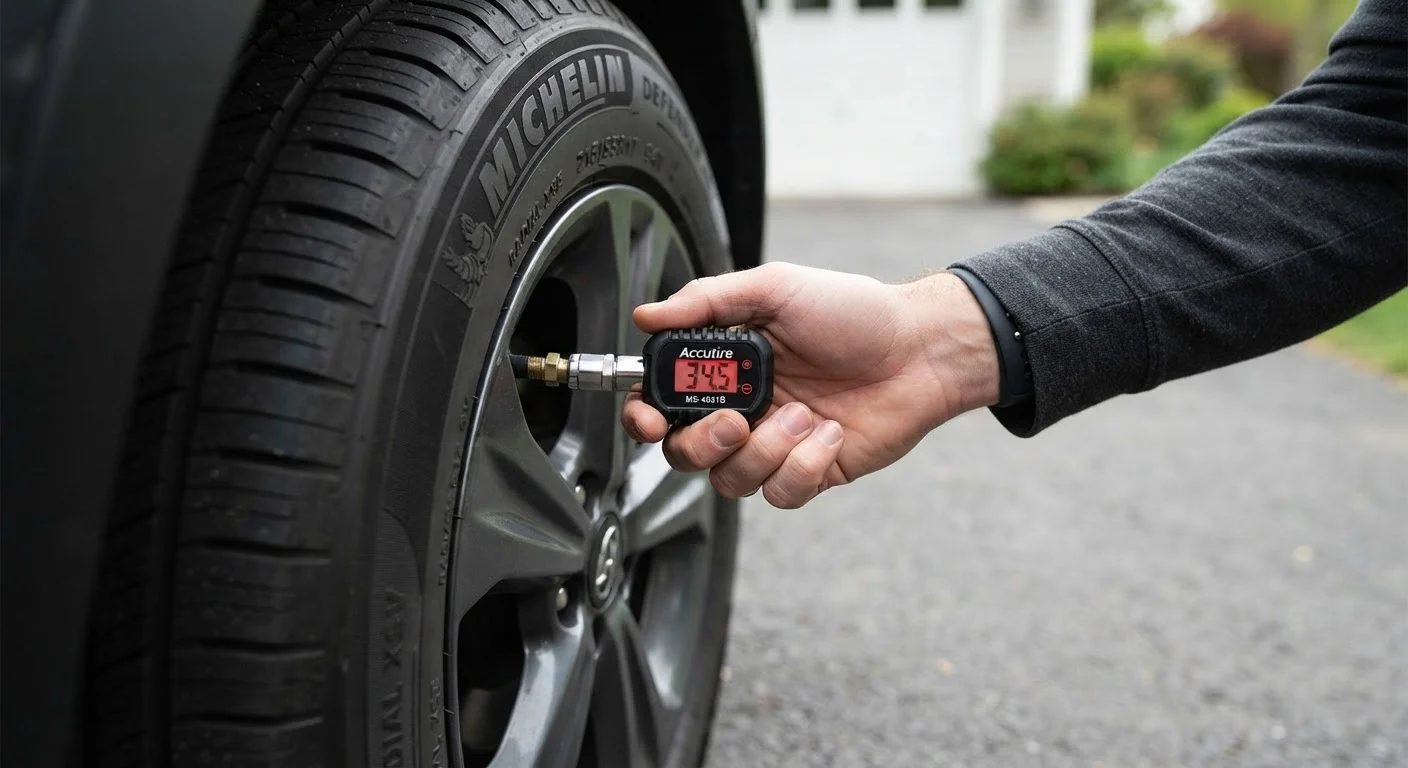
Photo: AdvisorBooth.net editorial
Key Takeaways
- Your vehicle's correct PSI is found on the driver's door jamb sticker, not on the tire sidewall.
- Always check pressure when tires are cold - driving heats air and raises readings by several PSI.
- Both digital and stick-style gauges work; digital models are easier to read for beginners.
- Overinflated tires reduce traction just as underinflated ones increase wear and fuel consumption.
- Most gas stations offer air, and portable compressors are widely available for home use.
Why Tire Pressure Is Worth Five Minutes of Your Time
Tire pressure is one of the most overlooked - and most consequential - aspects of routine vehicle care. Underinflated tires generate excess heat, wear unevenly on the outer edges, and force the engine to work harder, reducing fuel economy. Overinflated tires wear prematurely in the center, reduce the tire's contact patch with the road, and make the vehicle feel harsh and skittish over bumps. Either condition increases stopping distances and affects handling in ways most drivers won't notice until something goes wrong.
The good news is that checking pressure requires no mechanical skill and less than 15 minutes. It's one of the core tasks covered in our broader tire maintenance guide, and it fits naturally into the monthly habit recommended for first-time vehicle owners.
Door Jamb PSI, Not Sidewall PSI
Before you begin, gather your tools and confirm your target PSI.
Tire Pressure Gauge
Measures the air pressure inside each tire in PSI (pounds per square inch).
Portable Air Compressor
Inflates tires at home without a trip to a gas station; plugs into a 12V outlet.
Valve Cap Holder or Small Tray
Keeps the small valve stem caps from rolling away while you work.
What You'll Need Before You Start
Tire pressure checks require minimal equipment, and the total cost to get started is low. The most important item is an accurate gauge.
What you will need
A digital gauge is the easiest to read accurately for beginners - the readout is unambiguous. A stick (pencil) gauge is inexpensive and highly portable. A dial gauge falls between the two in readability. All three types can give accurate readings when used correctly. Whichever you choose, consider leaving it in your glove compartment so it's always on hand.
Temperature Affects Pressure Year-Round
Step-by-Step: Checking and Adjusting Your Tire Pressure
Follow the steps below in order for each tire. The process is the same regardless of vehicle type - sedan, SUV, truck, or minivan.
Find your vehicle's recommended PSI
Open the driver's door and look at the sticker on the door jamb - it lists the manufacturer's recommended tire pressure for both front and rear tires. This figure, expressed in PSI (pounds per square inch), is what you're aiming for. Do not use the maximum PSI number molded into the tire sidewall; that is the tire's structural limit, not your driving target, and inflating to that level can compromise handling and safety.
Check tires while they're cold
Tire pressure rises as tires warm up from driving, which can produce readings 4-6 PSI higher than the true cold pressure. For an accurate measurement, check pressure either before you drive or after the vehicle has sat for at least three hours. If you must check warm tires - for example, on a long road trip stop - note that your reading will be elevated; do not deflate warm tires back to the recommended cold PSI.
Remove the valve stem cap
Each tire has a short rubber or metal stem protruding from the rim - this is the valve stem. Unscrew the small cap counterclockwise and set it somewhere safe (a pocket works well). The valve is now open and ready for the gauge.
Take a pressure reading
Press the open end of your gauge firmly and squarely onto the valve stem. You should hear a brief hiss - that's normal and indicates a seal was made. On a stick gauge, a small numbered bar will pop out of the opposite end; read the highest visible number. On a dial gauge, watch the needle settle. On a digital gauge, the reading appears on the screen within a second or two. Note the number and compare it to your door jamb target.
Add air if the pressure is low
If the reading is below your target PSI, add air using a gas station pump or portable compressor. Attach the air chuck to the valve stem and add air in short bursts - about three to five seconds each - then recheck with your gauge. Repeat until you reach the correct PSI. Adding air in increments helps you avoid overshooting your target.
Release air if the pressure is too high
If the reading exceeds your target, you need to let a small amount of air out. Inside the valve stem opening, there is a small metal pin called the valve core. Press it inward gently with a pen tip, fingernail, or the bleed pin on a quality gauge to release air in short pulses. Recheck after each release. Work slowly - releasing too much air at once is easy to do.
Replace the valve cap and repeat for all tires
Once a tire is at the correct PSI, screw the valve cap back on finger-tight. Move to the next tire and repeat steps 3 through 6. Don't forget the spare tire if your vehicle has a full-size or compact spare - it should also be maintained at its specified pressure, which is often listed on a separate sticker inside the trunk or spare tire well.
If you find that a tire repeatedly loses pressure between monthly checks, that's a signal to have it inspected - see the warning below.
Persistent Low Pressure Means Check for a Leak
Fitting This Into Your Regular Routine
Most automotive and safety organizations recommend checking tire pressure at least once a month and before any extended trip. A quick check takes about the same amount of time as filling up with gas, making it easy to pair the two habits. Adding it to your pre-trip vehicle safety walkthrough ensures you never pull onto the highway on underinflated tires.
If you're weighing which maintenance tasks to handle yourself versus delegating to a shop, tire pressure checks fall firmly in the DIY category - no special training required. Our article on DIY car maintenance vs. taking it to a shop lays out where the line between home mechanic and professional falls for other common tasks.
Staying on top of tire pressure protects your investment in the tires themselves, keeps fuel costs in check, and - most importantly - helps ensure your vehicle handles predictably in the situations where it matters most.
The content on this site is for informational purposes only and is not a substitute for professional advice. Always consult a qualified professional for guidance specific to your situation.