
Paper Management at Home: From Mail Piles to a Workable System

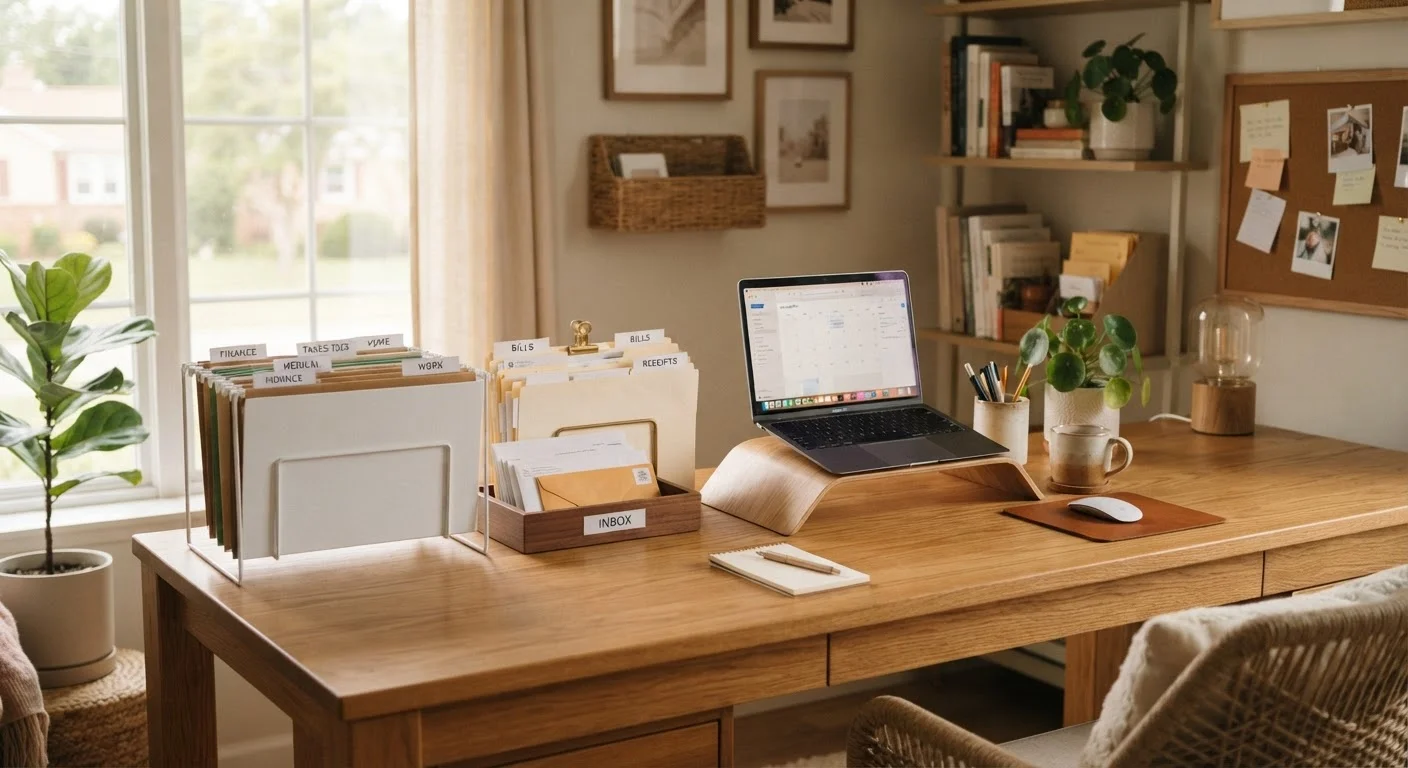
Photo: AdvisorBooth.net editorial
Key Takeaways
- Sort all incoming paper into three categories: act, file, or shred - immediately.
- A simple folder system with broad categories works better than overly detailed subdivisions.
- Digitizing key documents adds a reliable backup layer to your physical filing.
- A brief weekly paper routine prevents piles from returning after the initial cleanup.
- Shredding sensitive documents before disposal protects your personal information.
Why Paper Piles Take Over (and How to Stop the Cycle)
Paper accumulates for one simple reason: most of us have no decided place for it. Mail lands on the counter. School forms end up on the kitchen table. Statements get stacked by the computer. Without a clear system, every new piece of paper becomes a small, unresolved decision - and those decisions pile up fast.
The good news is that you don't need an elaborate setup to get control. A workable paper management system has just three elements: a place to put incoming paper, a filing system for what you keep, and a habit that keeps both from breaking down. If you're tackling a broader home reorganization alongside this, the full home declutter guide covers how to approach the bigger picture from scratch.
What you will need
Process Mail the Same Day It Arrives
What You'll Need Before You Start
Setting up your paper system doesn't require specialized supplies, but having the right basics on hand will make the process faster and more satisfying.
File folders (letter size)
Create individual labeled categories to hold physical documents in your system.
Hanging file frames or a file box
Provides structure to keep folders upright and accessible inside a drawer or on a shelf.
Label maker or adhesive labels
Creates clear, readable category labels so any household member can find and return files easily.
Shredder (cross-cut)
Securely destroys documents containing personal or financial information before disposal.
Inbox tray
Gives incoming mail and paper a single designated landing spot so it doesn't spread across surfaces.
Smartphone scanner app or flatbed scanner
Digitizes important documents for cloud or drive backup, reducing physical storage needs.
Building Your Paper System Step by Step
Follow these steps in order. The first pass will take the most time - subsequent maintenance takes only minutes each week.
Gather every piece of paper in your home
Collect all paper - from every room, drawer, bag, and surface - and bring it to your sorting area. Don't evaluate anything yet. The goal of this step is simply to see the full scope in one place.
Sort into three piles: Act, File, Shred
Go through each item and assign it to one of three categories:
- Act: Needs a response, payment, or follow-up within the next 30 days.
- File: Worth keeping as a record (tax documents, insurance policies, medical records, warranties).
- Shred: No longer needed, or contains personal information that shouldn't go in the trash unshredded.
Anything that doesn't fit any category - old catalogs, expired coupons, duplicate copies - goes straight into the recycling bin.
Set up your filing system with broad categories
Label folders using wide, intuitive categories rather than narrow ones. Common household categories include:
- Taxes (current year and prior years)
- Insurance (home, auto, health)
- Medical records
- Financial statements
- Home (mortgage or lease, utilities, repair records)
- Vehicles
- Warranties and manuals
- Identity documents (copies only - store originals in a secure location)
Place your labeled folders in a file box or hanging frame in a consistent, accessible location.
File your 'Keep' pile and handle your 'Act' pile
Place everything from your File pile into the appropriate folder. Then take your Act pile and put it in your inbox tray - this is your active to-do queue. Deal with each item as soon as possible: pay bills, make calls, respond to correspondence, then file or shred once resolved.
Digitize key documents as a backup layer
Scan or photograph important documents - such as insurance policies, tax returns, and property records - and save them to a password-protected folder on a cloud drive or external hard drive. This gives you a searchable backup if physical documents are lost or damaged.
Shred sensitive documents
Run your Shred pile through a cross-cut shredder before disposing of it. Documents that typically warrant shredding include bank and credit card statements, medical explanations of benefits, pre-approved credit offers, and anything displaying your full name alongside account numbers or Social Security information.
Designate a single landing spot for new mail
Place an inbox tray in a consistent, visible location near where mail typically enters your home. Every piece of new paper goes here first - no exceptions. This single habit prevents new piles from forming on counters and tables.
Don't Toss Documents You May Still Need
Keeping the System Running Long-Term
The most common reason paper systems fail isn't the initial setup - it's the absence of a maintenance routine. Reserve ten minutes every week, ideally on the same day, to process your inbox tray: file what's been resolved, shred what's expired, and action anything pending. That's it.
If your home includes a dedicated workspace, pairing your filing system with a well-organized desk amplifies the benefit. See the home office organization guide for layout and storage strategies that support daily focus.
It's also worth knowing that a perfect system isn't the goal - a functional one is. The myths about home organization article explains why overly complex systems often backfire. Keep yours simple enough that anyone in your household can use it without instructions.
The content on this site is for informational purposes only and is not a substitute for professional advice. Always consult a qualified professional for guidance specific to your situation.