
Setting Up a New Smartphone Without Losing Your Old Data

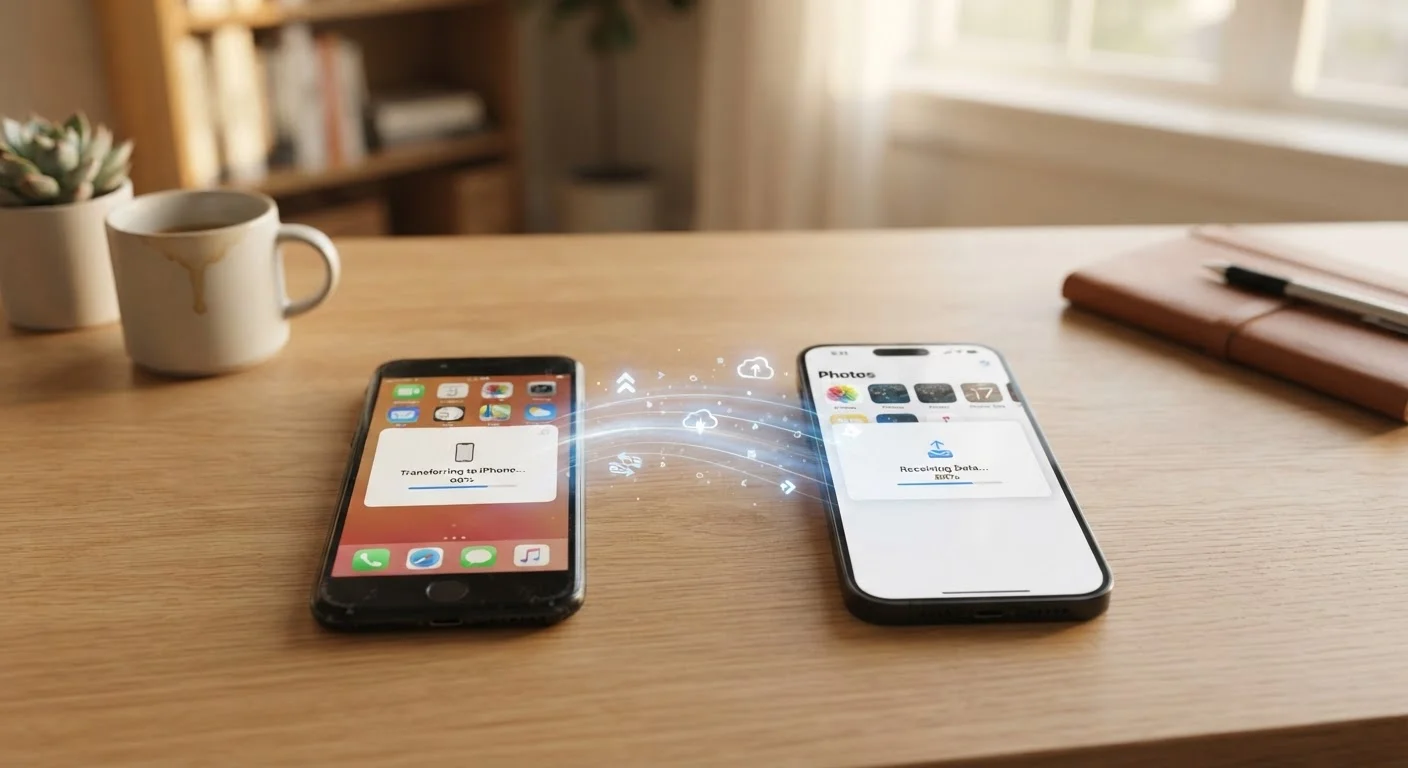
Photo: AdvisorBooth.net editorial
Key Takeaways
- Back up your old phone before doing anything else - this is the most critical step.
- Both Android and iPhone offer built-in migration tools that transfer most data automatically.
- Contacts, photos, and app data each have different backup paths and need separate attention.
- Completing a factory reset on your old phone after migration protects your personal data.
- Review privacy settings on your new device once setup is complete.
Why Preparation Makes the Difference
Switching to a new smartphone is exciting - until something doesn't transfer. Contacts vanish, years of photos seem to disappear, and apps are missing. In most cases, these problems aren't caused by the phone itself but by skipping a few preparation steps beforehand. Understanding what actually gets backed up - and what doesn't - puts you firmly in control.
Both Android and iPhone have mature, built-in migration systems that handle the heavy lifting. Google's backup system covers contacts, app data, call history, Wi-Fi passwords, and device settings. Apple's iCloud backup covers similar ground. But neither system is entirely automatic - you need to trigger a fresh backup and confirm it completed before your old phone leaves the picture.
One category that catches people off guard: two-factor authentication apps. These store account access codes locally on your device and often don't sync to the cloud for security reasons. If you skip manually migrating these before resetting your old phone, you can lose access to the accounts they protect. It's a small but high-stakes detail worth noting before you begin.
What you will need
For a look at the setup mistakes that tend to cause longer-term headaches - beyond just data migration - see our article on common gadget setup errors that cause headaches down the line.
Follow These Steps to Migrate Safely
The steps below work for both Android and iPhone, with platform-specific notes where the process differs. Read through the full list before starting so you know what to expect at each stage.
Google One or iCloud storage
Stores a full backup of your phone's data - apps, settings, contacts, and photos - in the cloud before you switch devices.
USB-C to USB-C cable (or appropriate adapter)
Enables a direct wired transfer between phones, which is faster and more reliable than Wi-Fi for large amounts of data.
Google Photos or Apple Photos app
Ensures your entire photo library is synced to the cloud before the migration begins.
SIM card removal tool (or a small paperclip)
Allows you to physically move your SIM card from your old device to the new one if not using an eSIM.
Back up your old phone to the cloud
On Android: go to Settings > Google > Backup and tap Back Up Now. This saves your contacts, app data, call history, and device settings to your Google account.
On iPhone: go to Settings > [your name] > iCloud > iCloud Backup and tap Back Up Now. Wait for the backup to complete fully before moving on.
Start the setup on your new phone
Power on your new device and follow the initial setup prompts. When asked whether you want to restore from a backup or set up as new, choose the restore option. Both Android and iPhone will detect your previous device's backup at this stage.
On Android, you can also use a direct cable connection when prompted - this transfers data faster than the cloud method and includes app data more completely.
Sign in to your account and restore your data
Enter your Google account credentials (Android) or Apple ID (iPhone) when prompted. The setup wizard will then display a list of recent backups - select the most recent one from your old device.
The restoration process can take anywhere from a few minutes to over an hour depending on how much data you have and your internet speed. Keep the phone plugged into power and connected to Wi-Fi until it finishes.
Transfer your SIM card or activate your eSIM
If you use a physical SIM, use the removal tool to eject the tray from your old phone and insert the SIM into the new one. Check that the SIM size matches - newer phones often use nano-SIM.
If your carrier and device support eSIM (a built-in digital SIM), you can typically activate it directly in your carrier's app or through your account settings online, without a physical card swap.
Verify your data and reinstall any missing apps
Once the restoration is complete, check the following manually:
- Contacts - open the Contacts app and scroll through to confirm they transferred correctly.
- Photos - open your gallery and verify that your library is visible. Cloud-synced photos may take a few minutes to fully download.
- Apps - most apps will reinstall automatically, but check for any gaps. App purchase history is preserved in the App Store or Google Play, so reinstalling missing apps is straightforward.
- Authenticator apps - two-factor authentication apps (such as Google Authenticator or Microsoft Authenticator) do not always transfer automatically. Transfer these accounts manually before wiping your old phone.
Wipe your old phone before passing it on
Once you've confirmed everything is working on your new device, perform a factory reset on your old phone. On Android: Settings > General Management > Reset > Factory Data Reset. On iPhone: Settings > General > Transfer or Reset iPhone > Erase All Content and Settings.
This removes your personal data, accounts, and files from the device before you sell, trade in, or recycle it.
Check Privacy Settings After Setup
Always Confirm Your Backup Before Starting
Once everything is confirmed and your old phone has been wiped, you're done. If you want to keep your new device organized from day one, keeping your apps organized and useful over time offers practical guidance on auditing what you install and keeping your digital toolkit manageable.
The content on this site is for informational purposes only and is not a substitute for professional advice. Always consult a qualified professional for guidance specific to your situation.