
Before You Sign: What to Inspect and Document When Moving Into a Rental

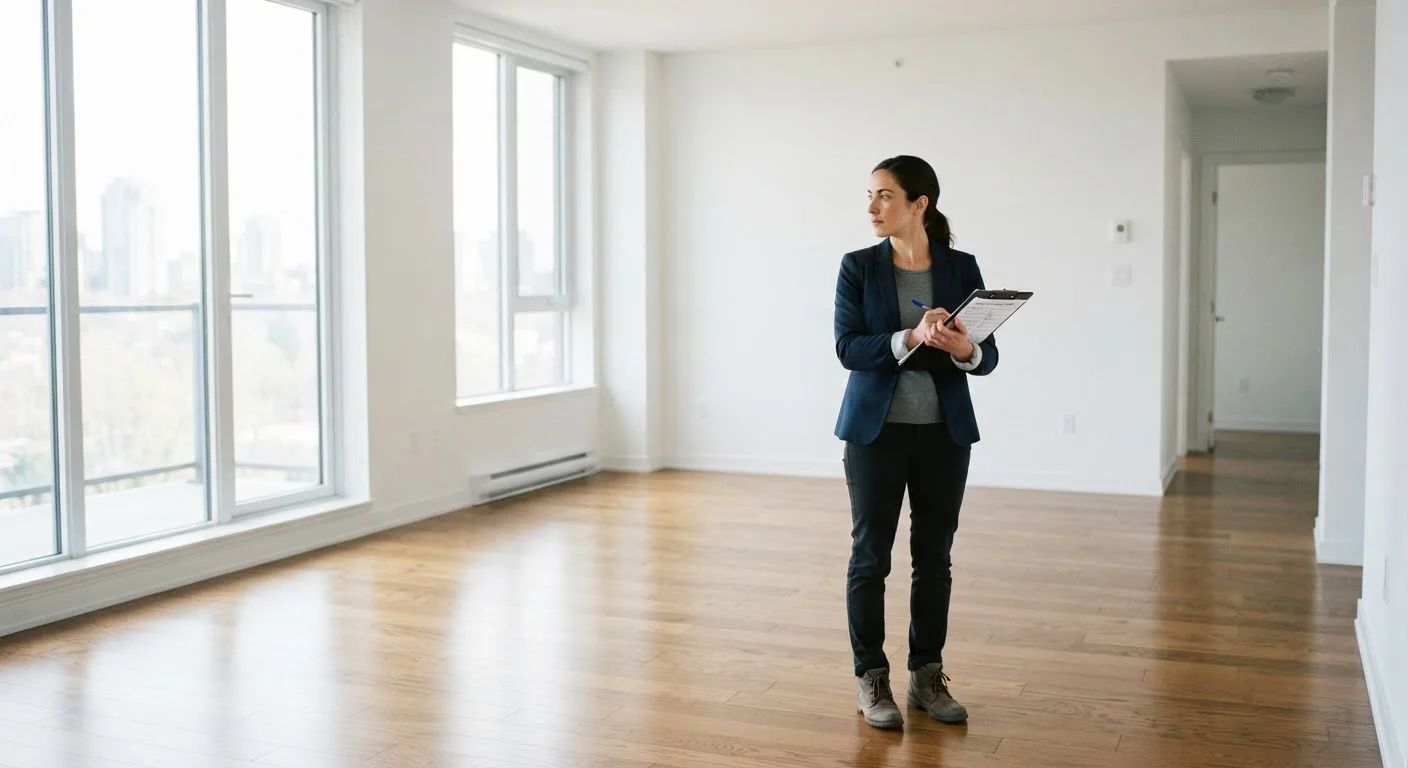
Photo: AdvisorBooth.net editorial
Key Takeaways
- Document every pre-existing defect in writing and with photos before you unpack a single box.
- A signed move-in checklist from both you and the landlord carries real weight in deposit disputes.
- Test every fixture, appliance, and lock - not just the ones that look obviously damaged.
- State law governs how security deposits are handled; knowing your rights matters from day one.
- Send your documentation to the landlord in writing and keep copies for yourself.
Why a Move-In Inspection Is Non-Negotiable
Your security deposit - often equal to one or two months' rent - is at stake from the moment you get your keys. Without a documented record of the unit's condition at move-in, you have little recourse if a landlord later attributes pre-existing damage to you. Courts and housing agencies consistently favor tenants who arrive with timestamped photos and a completed, countersigned checklist.
This isn't just about money. A careful inspection also reveals habitability issues - broken locks, mold, faulty smoke detectors - that you have the right to have addressed before or shortly after taking occupancy. Many states require landlords to provide a move-in inspection form; even where it isn't required, completing one yourself is a sound practice. For a broader look at what can go wrong before you even get to this step, see red flags in rental listings and leases.
Inspect Before You Move Anything In
The inspection should happen before you move any belongings in. Once furniture is in place, it becomes harder to photograph walls, floors, and corners - and a landlord may later argue the damage occurred during your move.
What to Bring and How to Prepare
Preparation turns a walk-through into a defensible record. Gather these tools before you arrive:
Smartphone with Camera
Takes timestamped photos and video of pre-existing damage throughout the unit.
Move-In Inspection Form
Provides a room-by-room written record of the unit's condition that both parties can sign.
Notepad and Pen
Lets you annotate issues quickly as you walk through without relying solely on memory.
Flashlight or Phone Torch
Illuminates dark corners, inside closets, and under sinks where damage can hide.
Tape Measure
Allows you to record the size of scratches, stains, or damaged areas for precise documentation.
Small Plug-In Device or Phone Charger
Tests each electrical outlet to confirm it is functioning before move-in.
Plan to spend at least 45 minutes in a standard apartment; a larger home may take 90 minutes or more. Walk through systematically - room by room, surface by surface - rather than making a quick sweep. Note the date and time at the top of every document.
The Move-In Inspection Checklist
Work through each group below in order. For every defect you find, note its location, describe it briefly (e.g., "3-inch scratch on interior bedroom door, left side"), and photograph it with a timestamp visible. If the landlord or property manager is present, ask them to initial each item.
Preparation
Walls, Ceilings, and Floors
Doors, Windows, and Locks
Kitchen and Appliances
Bathrooms
Electrical, Plumbing, and Safety Devices
Final Documentation Steps
Habitability Issues Require Written Notice
If you discover signs of mold, pest infestation, broken security hardware, or non-functioning smoke or carbon monoxide detectors, notify your landlord in writing immediately. These are habitability issues that may carry legal weight. Document them thoroughly regardless of any verbal assurances.
After the Walkthrough: How to Protect Your Record
Completing the checklist is only half the job. What you do with it determines how useful it is later.
- Photograph your completed checklist alongside your documentation photos so dates match.
- Email everything to your landlord within 24 hours of move-in. An email creates a timestamped, written record neither party can easily dispute.
- Request written acknowledgment. Ask the landlord to reply confirming receipt, or to sign and return a copy of the checklist.
- Store backups in at least two places - cloud storage and a local drive or printed copies.
- Keep a copy with your lease for the entire duration of your tenancy and beyond.
Understanding exactly what landlords can and cannot deduct from your deposit when you leave is equally important. Our companion article, security deposit rules, limits, and deductions, explains state-level frameworks and what constitutes normal wear and tear versus chargeable damage.
If you're simultaneously navigating a home purchase decision, the discipline of documentation applies there too - see our home buyer's due diligence checklist for a comparable walkthrough on the ownership side.
This article is for general informational purposes only and does not constitute legal advice. Tenant rights and landlord obligations vary by state and locality. Consult a qualified attorney or your local tenant rights organization for guidance specific to your situation.
The content on this site is for informational purposes only and is not a substitute for professional advice. Always consult a qualified professional for guidance specific to your situation.