
Why Caulk Fails - and How to Make It Last

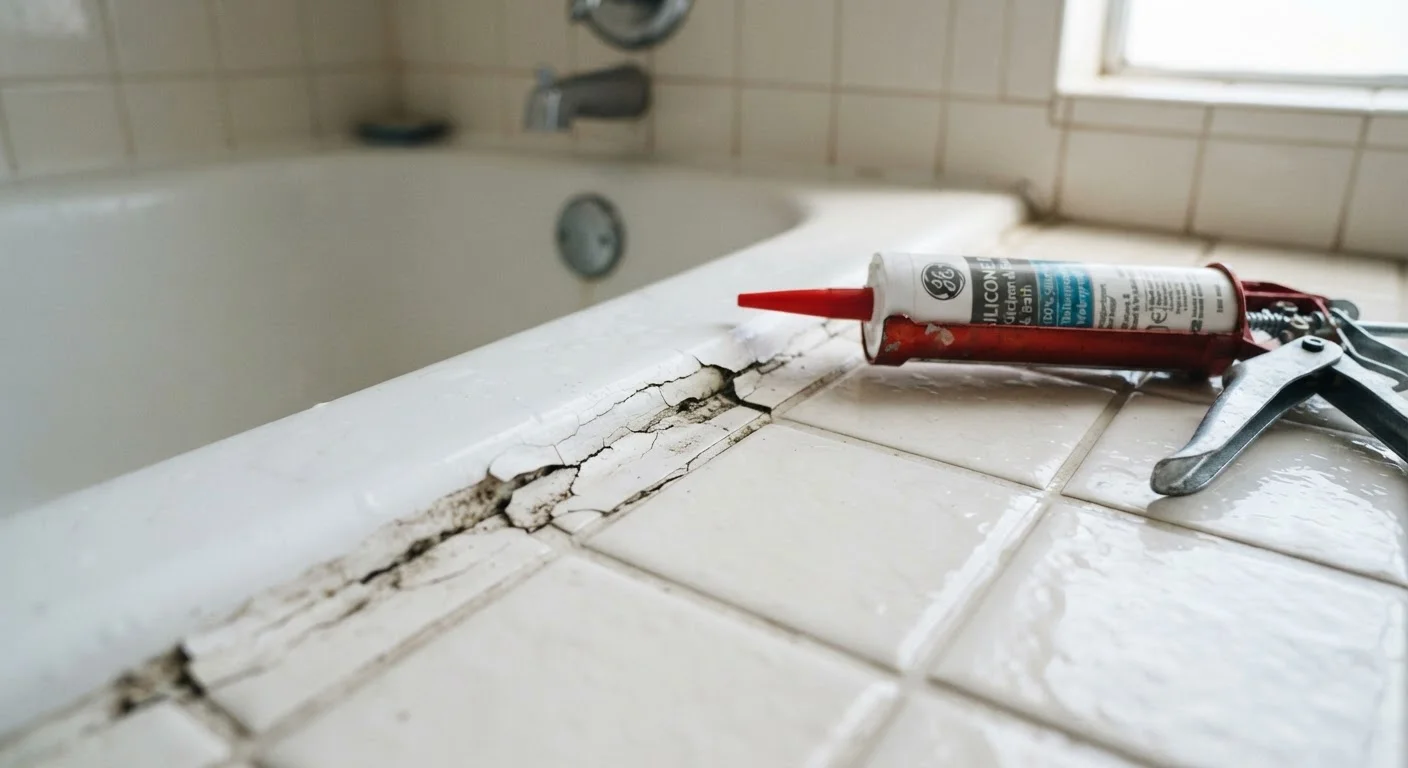
Photo: AdvisorBooth.net editorial
Key Takeaways
- Surface preparation - not product quality - is the leading cause of caulk failure.
- Applying caulk over old, damaged caulk nearly guarantees a short lifespan.
- Choosing the wrong caulk formula for the location causes cracking and moisture damage.
- Caulk applied in cold or humid conditions often fails to cure properly.
- Allowing full cure time before water exposure is essential for a lasting seal.
Why Caulk Fails Before Its Time
Few home maintenance tasks seem as straightforward as caulking - load the tube, squeeze, smooth, done. Yet cracked, peeling, or moldy caulk lines are among the most common complaints homeowners bring up when tackling bathroom or kitchen repairs. The good news: most failures are predictable and preventable once you understand what actually causes them.
Caulk is designed to bridge small gaps and flex with normal building movement. When it fails prematurely, the root cause is almost always one of a handful of repeatable mistakes - in surface preparation, product selection, or application conditions. Understanding these errors gives you a major advantage the next time you pick up a caulk gun.
If your tile grout has also been giving you trouble, it's worth reviewing common grout misconceptions - many of the same prep principles apply to both materials.
Caulking over old or damaged caulk without removing it first.
Skipping surface cleaning and drying before application.
Using the wrong type of caulk for the location or substrate.
Applying caulk in cold temperatures or high-humidity conditions.
Exposing freshly applied caulk to water before it fully cures.
Practical Steps for Caulk That Actually Lasts
Preventing caulk failure comes down to a short checklist executed carefully before the first bead is laid.
80%
Of caulk failures linked to surface prep
Industry guides from professional contractors consistently attribute the large majority of caulk adhesion failures to inadequate surface preparation rather than product defects.
24-48 hrs
Minimum cure time before water exposure
Most silicone and latex caulk manufacturers specify a cure window of one to two days before the sealed joint should be exposed to moisture or heavy use.
Prep the Surface Completely
Remove all old caulk using a plastic scraper or purpose-made caulk remover tool. Follow up with a mold-killing cleaner or diluted bleach solution, scrub away any residue, and let the surface dry for at least 24 hours. Any moisture trapped beneath new caulk will cause adhesion failure.
Choose the Right Formula
Silicone caulk is the standard recommendation for wet areas like tub surrounds and shower floors because of its flexibility and water resistance. Latex caulk is easier to apply and paint over, making it a better fit for trim and baseboards in dry areas. Look for products labeled specifically for the intended surface - kitchen and bath formulas typically include mildewcide additives that general-purpose caulks omit.
Mind the Conditions
Apply caulk when room temperature is between roughly 40°F and 80°F, and when relative humidity isn't unusually high. Cold slows curing; excessive moisture prevents proper adhesion. After application, allow the full cure time listed on the product label - typically 24 to 48 hours - before exposing the bead to water or heavy use.
Don't Rush the Cure Window
Finish with a Clean Tooled Joint
Smooth the bead with a wet finger or caulk tool immediately after application to eliminate air pockets and improve contact with both surfaces. Mask off the joint with painter's tape first if you want a crisp line. A well-tooled joint flexes more evenly over time and resists cracking at the edges.
The content on this site is for informational purposes only and is not a substitute for professional advice. Always consult a qualified professional for guidance specific to your situation.